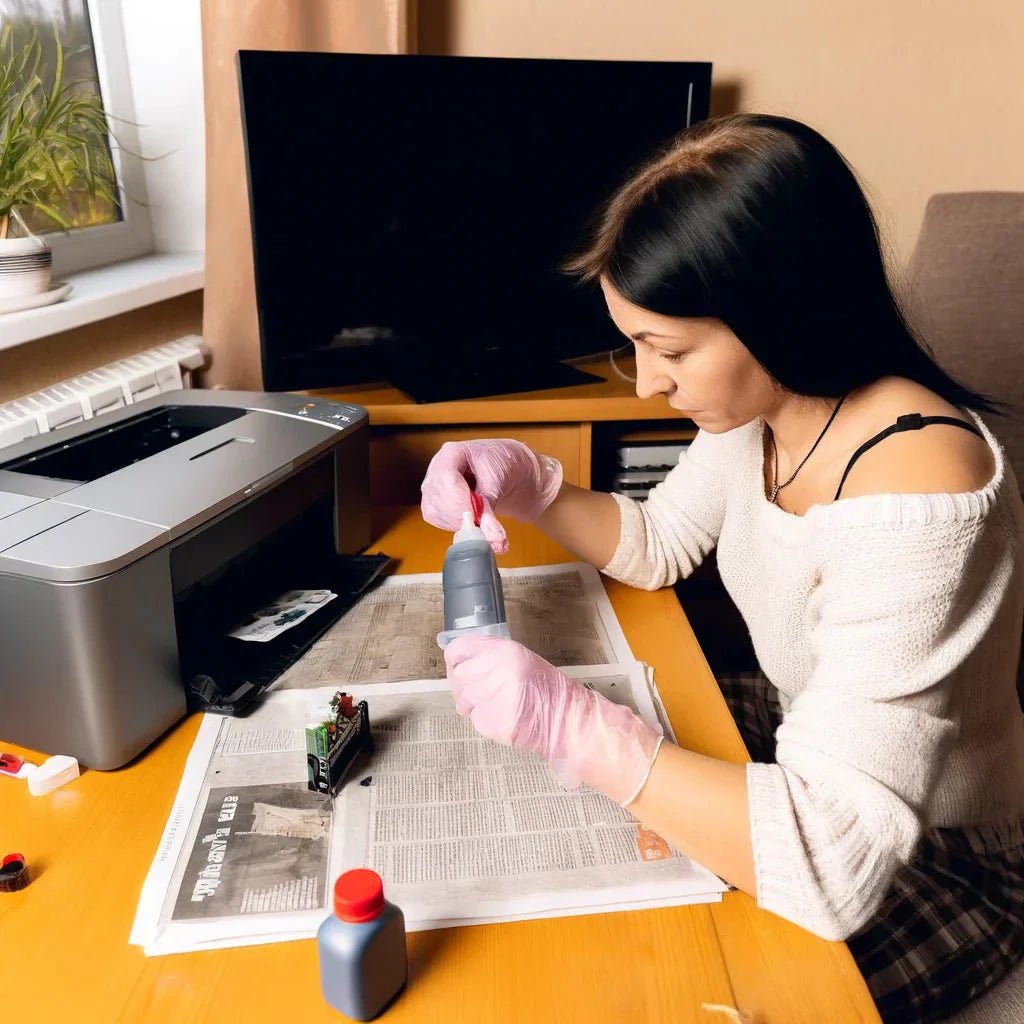
Q: What to Do If Ink Doesn't Soak into the Cartridge Properly A: Run the Print Head Cleaning Routine 3 Times
Share
Ever faced the frustration of your printer refusing to print properly? You're not alone.
The good news is that about 90% of these issues can be fixed quickly by running the print head cleaning routine three or four times. If you're confident that you've installed the cartridges correctly, this should be your first step.
When ink doesn't soak into the cartridge as it should, it can be incredibly annoying. But don’t worry, we've got you covered. In this blog post, we'll walk you through possible reasons behind this issue and provide practical steps to troubleshoot and resolve it. So, let’s dive in!
1. Verify Proper Refill Process
Before digging deeper, make sure you’ve correctly followed the refill process. Here are the key points to double-check:
- Correct Ink Injection: Push the syringe needle all the way to the bottom of the cartridge to ensure proper ink flow.
- Right Ink Type: Make sure you used the correct type of ink for your specific printer cartridge model.
- Remove Seals: Confirm that you removed any protective seals or tape from the cartridge before refilling.
2. Check for Clogs or Blockages
Clogs or blockages can prevent ink from flowing properly. If the ink doesn't seem to soak into the sponge or absorbent material inside the cartridge, try these steps:
- Remove the Cartridge: Take the cartridge out of the printer.
- Inspect for Blockages: Look for any visible blockages or dried ink buildup.
- Clean the Nozzles: If you find any clogs, use a soft, lint-free cloth lightly moistened with distilled water to gently clean the cartridge’s nozzles or ink outlet.
- Dry the Cartridge: Allow the cartridge to dry completely before reinstalling it.
- Test Print: Reinstall the cartridge and perform a test print.
3. Perform Print Head Cleaning
If the ink still doesn’t soak in properly after the above steps, the printer’s print head might be clogged. Here’s how to clean it:
- Access Printer Settings: Go to your printer’s settings or control panel.
- Select Cleaning Option: Look for the print head cleaning or maintenance options.
- Follow Instructions: Follow the manufacturer’s instructions to initiate the print head cleaning process.
- Test Print: Once the cleaning cycle is complete, perform a test print to see if the ink now soaks in correctly.
Conclusion
Dealing with ink that doesn’t soak into the cartridge properly can be frustrating, but by following these troubleshooting steps, you should be able to identify and resolve the issue. Ensure the refill process was done correctly, check for clogs or blockages, and perform print head cleaning if needed. By following these guidelines, you'll increase the chances of getting your ink to soak into the cartridge effectively, allowing you to get back to printing with optimal results.
Happy printing! If you have any more questions or need further assistance, feel free to reach out.
