Best Edible Printer for Cakes
Share
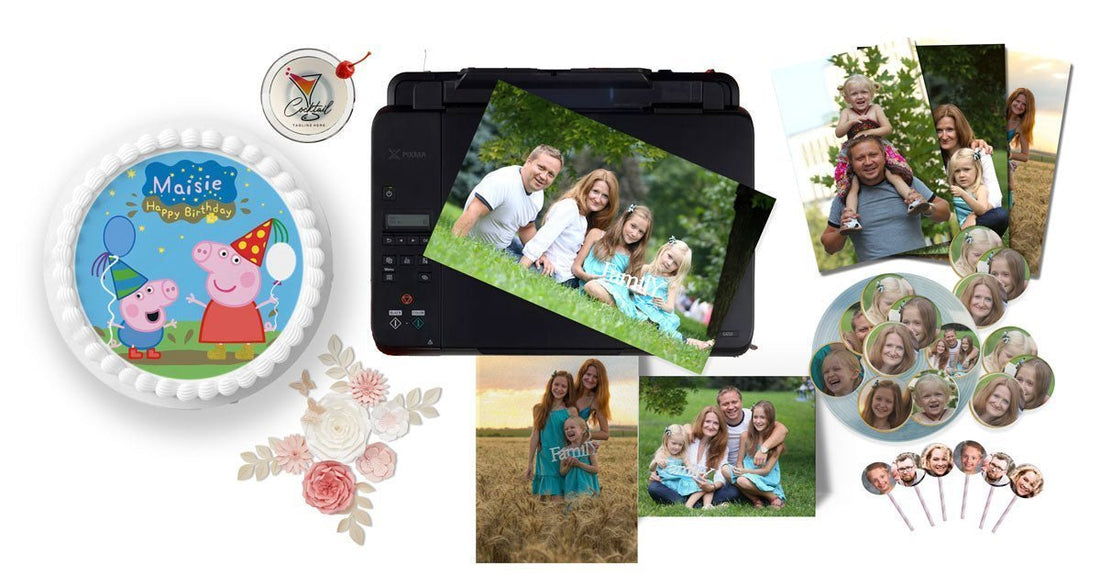
How to Choose the Best Edible Printer for Cakes
Edible printers have transformed cake decorating for both professionals and hobby bakers. They allow you to print vibrant edible images—logos, text, photos—that turn ordinary cakes into personalised showstoppers. With so many options available, it can be hard to choose the right one. This guide answers common questions, highlights key features, and links to helpful tutorials.
Is an Edible Printer Worth It?
Absolutely! An edible printer lets you create photographic cake designs that are difficult or impossible to achieve by hand. It’s a great investment for cake decorators who want professional results at home.
- Unleash Your Creativity: Print logos, text, or photos to make custom cakes for any occasion.
- Professional Finish: Even beginners can achieve sharp, vibrant prints with the right printer.
- Save Time: Once your design is ready, printing takes just minutes—freeing up time for decorating.
Recommended Edible Printer
For most home cake decorators, the Canon PIXMA TS702a is the best all-rounder. It’s compact, prints borderless up to A4, and delivers crisp, vivid images—without taking over your workspace. That said, the right edible printer depends on your specific needs:
- Budget: Choose a model that fits your budget while meeting your quality expectations.
- Usage: Frequent bakers should invest in a high-performance model. Occasional users may prefer a more affordable option.
- Key Features: Look for wireless printing, auto-cleaning, and borderless support for easier use and maintenance.
FAQs
What Is an Edible Printer?
An edible printer uses food-safe ink to print onto frosting sheets, wafer paper, and sugar sheets. It works just like a regular printer, but with edible materials.
What Can I Print?
You can print anything—photos, logos, messages, or custom patterns—onto edible paper using your edible printer.
Can the edible cake printers print in full colour?
Yes! Our printers produce vibrant, full-colour edible images for professional-quality results.
Can any printer be used as an edible printer?
No. Only printers used exclusively with food-safe ink should be used for edible printing. Once a printer has used regular ink, it’s not safe for edible use due to ink residue in the printhead.
Does Canon make an edible printer?
Canon makes printers that are compatible with edible ink, but they don’t sell edible inks or papers. That’s why most decorators choose a full kit from a trusted supplier that includes everything needed.
How to Print Edible Images for Cookies
- Bake your cookies and let them cool completely.
- Apply a smooth layer of royal icing where the image will go.
- If using fondant, brush a small amount of clear gel or piping gel on the surface.
- Place the edible image on the moistened area and smooth gently.
Types of Edible Paper
- Frosting Sheets: Ideal for high-resolution prints. Best for flat surfaces like fondant or buttercream.
- Wafer Paper: Thin and slightly translucent. Great for flowers, toppers, and lightweight designs.
- Sugar Sheets: Thicker, sweet-tasting paper used for stand-up decorations or layered designs.
Maintenance Tips
For a full guide, read our blog: How to Maintain Your Edible Printer.
- Printhead Cleaning: Use your printer’s built-in cleaning function regularly to prevent clogs.
- Manual Cleaning: Remove and rinse the printhead with warm water when needed. Let it dry fully before reinstalling. You can also use edible ink cleaning cartridges.
How to Print an Edible Image
- Design: Create your design in photo editing software and size it to fit your cake or cookies.
- Load Paper: Gently insert your edible paper into the printer.
- Adjust Settings: Use the highest quality setting. Select “photo” or “edible paper” if available.
- Print & Dry: Let the printed sheet dry fully before handling or applying.
How to Clean Your Edible Printer Head
Read the full tutorial: Cleaning a Print Head
- Open Maintenance Menu: Found on the printer screen or software.
- Select Cleaning: Choose “Regular” or “Deep Clean” depending on the issue.
- Run the Cycle: Let the printer flush the nozzles (1–2 minutes).
- Test Print: Run a test page and repeat cleaning if needed.
Helpful Blog Posts
-
How to Choose the Best Edible Printer
- New Edible Printer Released
- Best Edible Printer for Cakes
- How to Use an Edible Printer
- Cake Printer Buying Guide
The more you learn and care for your edible printer, the more consistently it’ll help you produce stunning, professional-grade edible prints for cakes, cookies, and bakes of all kinds.